
Back to Knowledge Base
Setting up your first Lab
Configure locations, shelves, and freezers to mirror your physical space.
A disorganized lab is a dangerous lab. TARE allows you to create a "Digital Twin" of your physical workspace, ensuring that every sample and inventory item has a precise coordinate and an understandable place in the hierarchy.
The Hierarchy Strategy
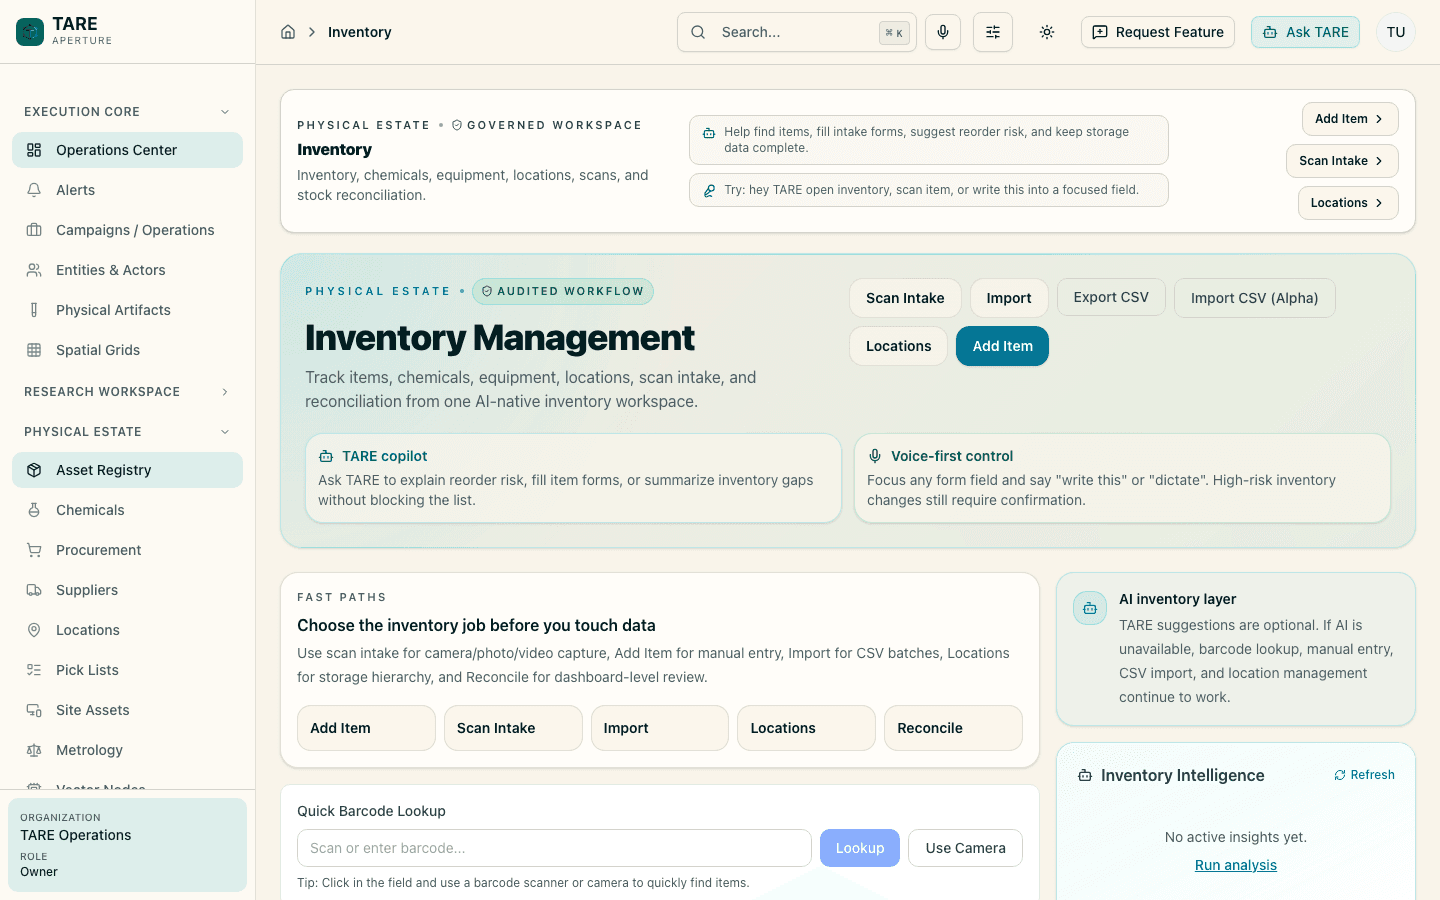
Start with a shallow hierarchy and add precision only where operators need it. The Locations page shows top-level areas, child locations, assigned item counts, and deletion blockers so the map stays understandable.
| Level | Example | Best Practice |
|---|---|---|
| Building / Room | Lab 304, Warehouse B | Use official room numbers for clarity. |
| Storage Unit | -80°C Freezer, Flammables Cab | Label physical units with TARE Location IDs. |
| Sub-Location | Shelf 2, Bin 4 | Be consistent with numbering (Top-Down preferred). |
| Container | Box A, Rack 12 | Use Grid View (e.g., 9x9) for precise A1-I9 tracking. |
Creating a Grid Location
For freezers and plates, TARE supports visual grids.
- Open Inventory > Locations.
- Navigate to the parent location (e.g., "Shelf 1").
- Click Create Location or create a child from the location detail view.
- Select Grid Container as the type.
- Define dimensions (e.g., 9 rows x 9 columns).
- Save. You can now drag-and-drop samples into specific wells/slots.
Deleting locations
TARE blocks deletion when a location still contains child locations or assigned inventory. Move or archive the contents first, then retry deletion.